
Technique / The dilution question
A dark roast. A sweeter Americano.
Dial in the espresso first. Then use water to reveal its aroma, rather than asking a long extraction to fill the cup.
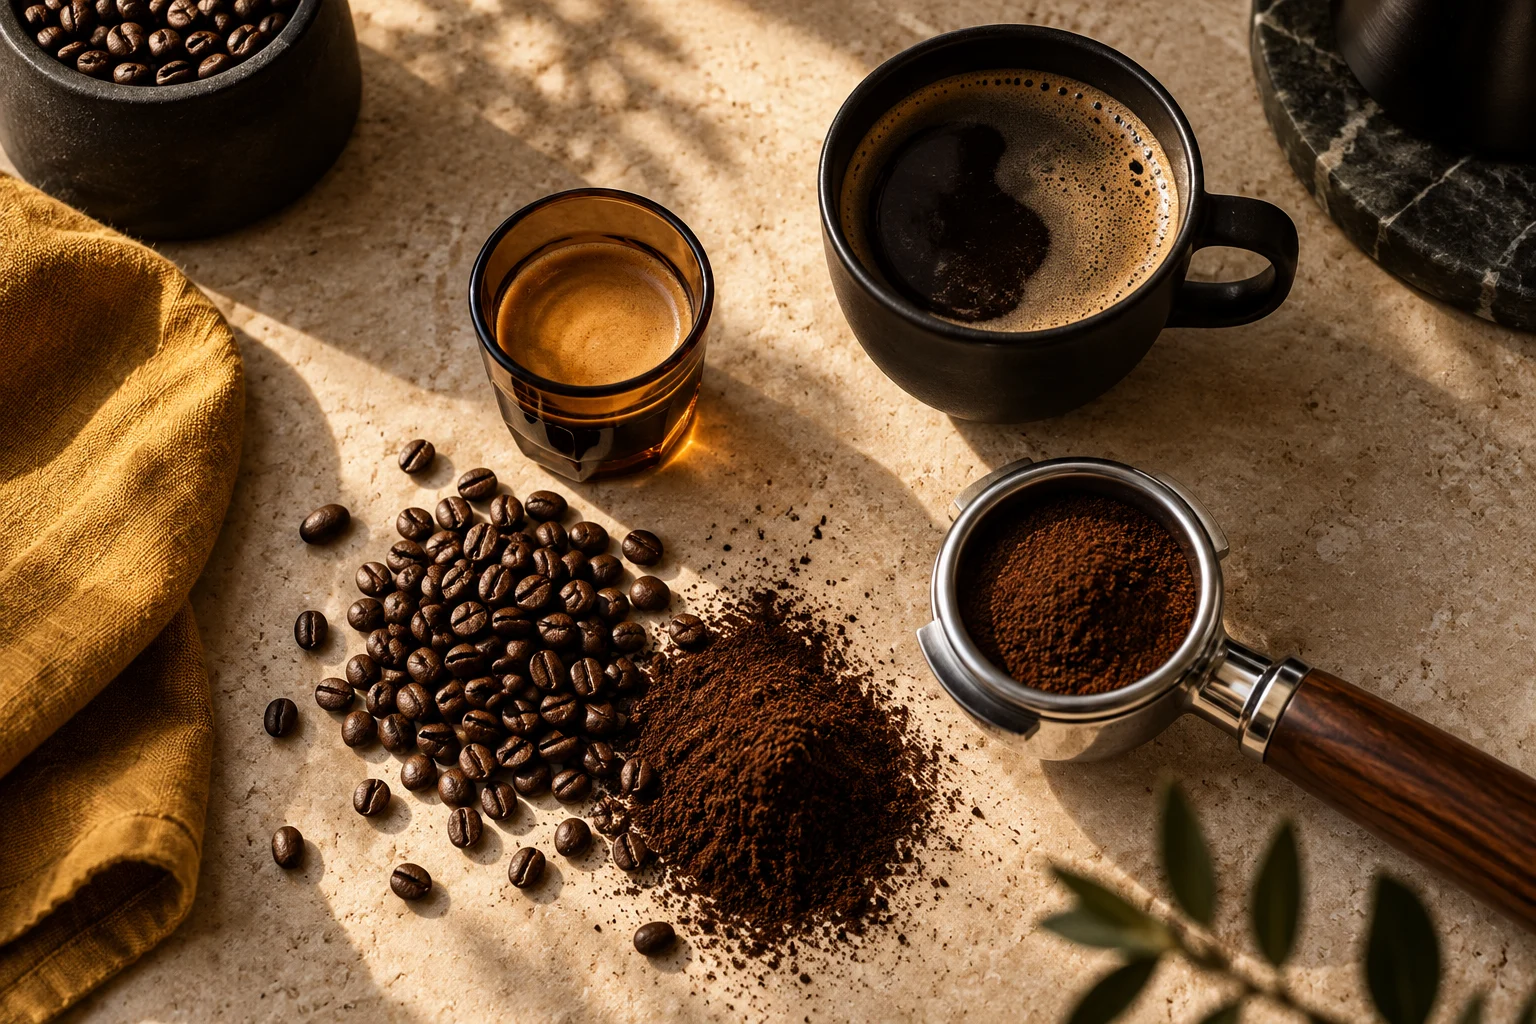
Original AI-assisted artwork by Coffeedant. Illustrative reconstruction; it documents no actual facility, visit or test.
A large cup does not require a long shot. The aromatic dark-roast Americano starts with a small, balanced extraction and finishes with a separate decision about strength. Grind size belongs to the first decision; dilution belongs to the second.
Separate extraction from strength
An Americano is espresso diluted with hot water. That simple definition is the useful one: the water goes into the finished drink rather than passing through the coffee bed. La Marzocco’s drink guide gives a double espresso with added water as its model. Its example is larger than ours, which demonstrates something practical: there is no single compulsory cup size.
For this guide, start with 18 grams of dry coffee and stop the espresso at 36 grams in the cup, then add 108 grams of hot water. The result weighs approximately 144 grams. These are Coffeedant’s suggested starting quantities for a conventional double basket, not a universal dark-roast specification. If your basket is designed for another dose, respect that capacity and scale the two ratios instead of squeezing 18 grams into every machine.
Two shots can weigh the same and taste quite different. Two drinks can contain the same shot and feel quite different after dilution. Treating these as separate problems makes the next adjustment intelligible. A harsh espresso usually needs work before dilution. A pleasing espresso that makes a weak Americano may simply need less added water.

A portafilter and tamping mat make the preparation stage visible. The photographed setup is contextual, not a documented test of Coffeedant’s suggested recipe.
massage-techniques / Wikimedia Commons · Source · CC BY-SA 2.0 · Resized and converted to WebP.Grind for the basket, not for the mug
Use the espresso range of a burr grinder with a conventional, unpressurized basket. There is no portable number of clicks: burr geometry, alignment, bean age and basket all change the result. The correct setting is the one that produces a repeatable, balanced shot at your chosen dose and yield. Record your own setting so tomorrow’s starting point has meaning.
Going finer increases resistance, but finer indefinitely is not a reliable improvement. Barista Hustle’s Espresso Compass emphasizes even extraction and warns that an excessively fine grind can reduce it. This is why we begin with consistent distribution and a level tamp before repeatedly moving the grinder. Grind immediately before brewing, break up obvious clumps, spread coffee through the basket and tamp level.
A practical first shot might land somewhere around 25–35 seconds from pump start, including any machine preinfusion. Use that window as a diagnostic note, not a pass mark. A well-balanced shot outside it can still be useful; an unpleasant shot inside it is not redeemed by the stopwatch. Always record how you counted time. Changing from pump start to first drip without saying so makes two otherwise identical recipes appear different.
With a pressurized basket, an outlet restriction supplies much of the resistance. The same grind advice can therefore choke the system. Follow the machine’s instructions for that basket and avoid treating its crema as proof that you have reproduced conventional espresso.
Build the cup. Keep the shot.
A suggested recipe for a conventional double basket.
Match the dose to your basket. These weights do not predict extraction yield or caffeine.
Grind → prepare → extract → dilute
- 01 / Grind
- 02 / Prepare
- 03 / Extract
- 04 / Dilute
Original animated schematic by Coffeedant, not footage of a measured extraction. Pause or step through at your own pace.
Video transcript: Grind 18 g coffee; prepare an even bed; extract 36 g espresso; add 108 g water for a 144 g drink. Example protocol for a conventional double basket. Silent original motion schematic; no measured extraction claim.
Give the roast room to breathe
Temperature changes the composition of the extraction as well as its rate. Barista Hustle’s review of temperature research explains that a machine’s displayed setting is not necessarily the effective temperature throughout the coffee bed. A heat-exchanger boiler adjustment, for example, does not map directly onto an identical change at the puck.
If your machine provides controlled brew-temperature adjustment, try approximately 90–92°C as an initial experiment for a developed dark roast, then taste. That range is an editorial starting suggestion, not a temperature measured on every bean. Keep dose and yield steady when comparing. If the cup is persistently smoky and drying, a small reduction is worth trying. If it becomes thin or sharply unbalanced, restore the previous setting before chasing a second variable.
On a machine with no temperature control, a stable warm-up routine is more valuable than an invented temperature claim. Warm the portafilter, use the same preparation sequence and follow the manufacturer’s flushing guidance. Do not compensate for a cold machine by grinding extremely fine.
Find the concentration that carries aroma
Taste a little of the espresso after it has cooled enough to assess. Then add water in measured stages. Begin with twice the espresso’s weight in water, taste, and move toward three or four times if you want a lighter drink. A 36-gram espresso with 72 grams of water makes a 108-gram drink; with 144 grams of water it makes 180 grams. The calculator turns these quantities into a repeatable recipe.
Stir gently before comparing, and use the same cup and similar drinking temperature. Pouring espresso onto water changes how crema initially appears; adding water to espresso disperses it differently. Neither order rescues a poorly extracted shot. Choose the order that suits your workflow, then hold it constant while you compare concentration.
Do not run the pump until the mug is full. That creates a different extraction, making it hard to know whether the final bitterness came from the coffee, the longer contact or the original preparation. Separate added water keeps the original espresso recipe legible.
| What you notice | Check first | Next controlled experiment |
|---|---|---|
| Fast, thin espresso | Dose and even preparation | A small finer grind adjustment |
| Slow, almost blocked flow | Basket cleanliness and correct dose | A small coarser adjustment |
| Sour and drying together | Distribution and level tamp | Repeat with more even preparation |
| Good espresso, weak Americano | Added-water weight | Use less dilution |
| Smoky at sensible recipes | Roast preference and machine routine | Try lower controlled temperature or a different roast |
Read the symptom before moving the dial
A shot that is both sour and drying may be uneven rather than simply too short or too long. Barista Hustle’s discussion of microchannels explains why uneven flow can lower the usable extraction ceiling even without a dramatic visible jet. Check distribution, basket cleanliness and a level tamp before trying to solve every symptom through time.
If the espresso tastes balanced but the diluted cup feels hollow, reduce water first. If the espresso races and tastes thin, a small finer adjustment is a reasonable next test with a conventional basket. If it barely flows, go coarser. If the coffee tastes uniformly burnt at several sensible recipes, the roast’s character may be the limitation. A grinder cannot reverse roasting.
Make one change and keep a short log: dose, yield, time convention, machine setting, added water and the most obvious sensory result. This is enough to distinguish a useful experiment from random adjustments. Two consecutive similar shots matter more than an isolated spectacular one.

An Americano photographed at Café Coffee Day in Bangalore. Cup appearance alone does not establish its dose, roast level or dilution ratio.
User:Sameer.siddhanti / Wikimedia Commons · Source · Public domain · Resized and converted to WebP.Build a routine you can repeat
For the next morning, leave yourself a recipe rather than a verdict. “18 in, 36 out, 108 water; slightly coarser tomorrow” gives you something to act on. “Bad coffee” does not. When a new bag arrives, keep the preparation routine and expect to revisit the grind; do not assume the old setting must fit new beans.
Aromatic does not necessarily mean stronger. A concentrated cup can make roast bitterness dominate, while modest dilution may make its balance easier to notice. Your target is a drink that stays pleasant as it cools, not the darkest-looking liquid. The most useful dark-roast technique is restraint: extract a repeatable espresso, then choose how much room water gives it.
A few good questions.
Do I grind dark roast coarser than light roast?
There is no universal offset. Start in your grinder’s espresso range and adjust to flow and taste at a fixed dose and yield.
Is a longer shot the same as an Americano?
No. A longer shot sends more water through the grounds; an Americano adds water to an already extracted espresso.
Does this recipe fit every machine?
It assumes a conventional double basket. Scale to your basket’s intended dose, and follow separate manufacturer guidance for pressurized baskets.
Follow the sources.
This research-led article draws on the sources below. Editorial interpretation is identified in the text. Brewing quantities are suggested starting protocols, rather than Coffeedant laboratory measurements.
- La Marzocco: espresso drinks ↗
Drink definition and a manufacturer’s example recipe.
- Barista Hustle: Espresso Compass ↗
Extraction, yield and grind troubleshooting.
- Barista Hustle: temperature research ↗
Temperature effects and machine-dependent limitations.
- Barista Hustle: channelling ↗
Uneven flow and extraction limits.
Sources checked 13 October 2026. Illustrated covers and original schematics: Coffeedant. Additional images and videos are individually credited above.